How to install OEL 6 - 64 bit on Oracle Virtual Box.
This post assumes that we have already installed Virtual Box in windows machine and downloaded OEL6 software and kept ready for installation.
Step 1: Prepare Virtual Box to install linux.
Start Virtual Box and click on "New".

Provide Name, Type and version of Linux and click on "Next".

Provide RAM size how much you want to allocate to Linux server


Leave the default values and click on "Next".

Select "Dynamically allocated" and click on "Next"

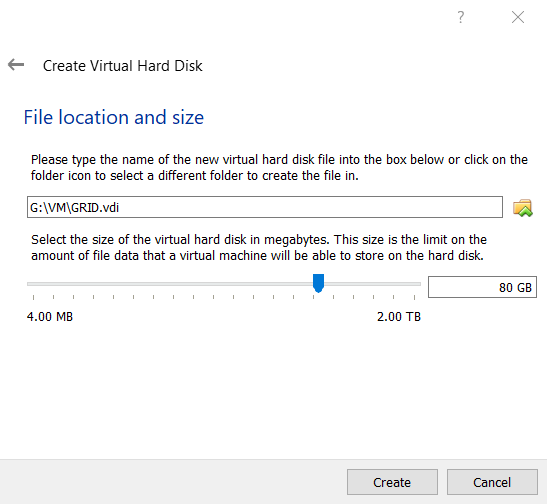
Provide hard disk size how much want to allocate and click on "Create". If you leave default value in blank it will create virtual machine in "C" drive. Otherwise you can locate it wherever you want by selecting the location.
Step 2: Install Linux in virtual Box.
Select prepared server from virtual box and start it. Select the default value and press "Enter"

Select "Skip" and Enter.

Click on "Next"

Select default language and click "Next"

Select default "U.S. English" for appropriate keyboard for the system and click "Next"

Select "Basic storage devices" and click "Next".

Select "Yes, Discard any data" and click "Next"

Provide host name and click "Next"

Select time zone(Asia/Kolkata) and click "Next"

Provide password for "root" user and click "Next"

Select "Create Custom Layout" and click "Next"

Select the total provided hard disk and do the partitions as you like. Example "/" , "/tmp", "swap", "/u01" and "/u02" etc......
Note: Swap size is double of RAM provided.


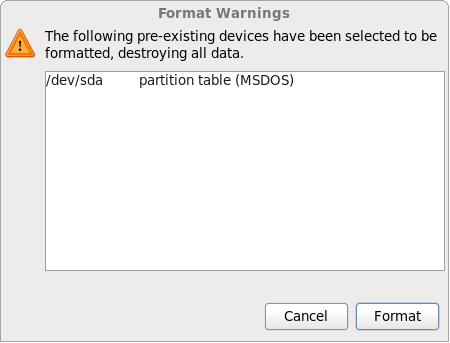
Click on "Format"
Click on "Write changes to disk"

Leave the default boot loader settings and click "Next"

Select "Customize Now" and click "Next"

Select Base system option from left panel and select required packages from right side panel and click Next.


Click on "Reboot"

Click on "Forward"

Agree the license and click "Forward"

select "No, I prefer to register at a later time" and click on "Forward"

Select "No Thanks, I will connect later" and click on "Forward".

Click "Forward"

Create user if you want or can create later. Click on "Forward".

Select date and time and click "Forward"

Click on "Finish".

Installation requires reboot. Click on "Yes"


Thanks for your patience to review our post............
No comments:
Post a Comment